
 3D Wallpapers
 4K Wallpapers
 Video Wallpapers
 Wallpaper Images
 Slideshow Wallpapers
 Parallax Wallpapers
 Boomerang
 Colorful Wallpapers
 Blue Wallpapers
 Red Wallpapers
 Black Wallpapers
 White Wallpapers
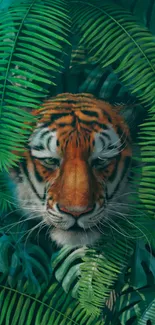
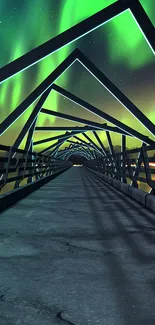
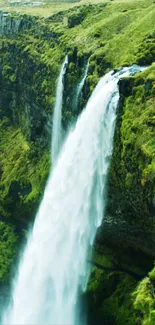
Nature Live Wallpapers
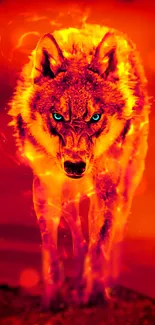
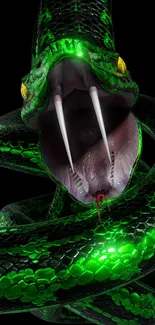
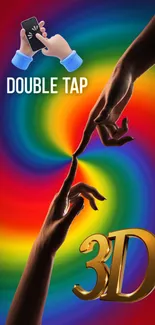
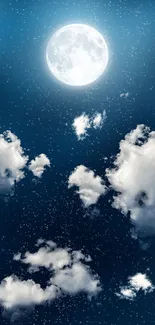
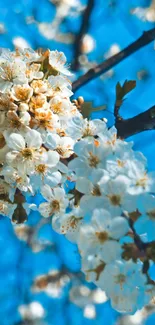
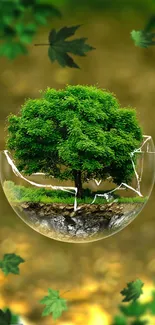
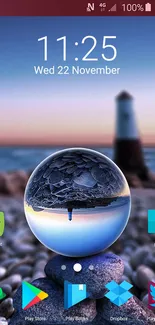
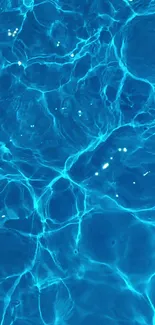
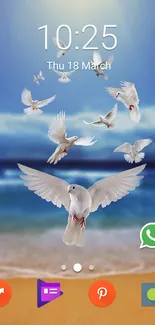
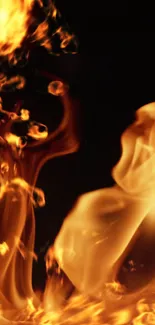
Add the physical world of Nature to your iPhone or Android phone screen with an animated nature wallpaper from our collection. Get the best nature videos and moving phone wallpapers of landscapes, environments, and weather. Our nature phone wallpapers include static images, 3D nature photos, videos, and moving backgrounds. Download our Nature live wallpapers for free!


Best of Nature Live Wallpapers


Useful resources:
LiveWallpapers © 2025